Tuesday, June 16, 2015

Pretty paper makes things better

Hey beautiful crafters. Raven here and I'm sharing something I just adore...
 
Pen paling. I love pen paling. There only seems to be one problem...all my pen pal partners seem to have beautiful stationery whereas I...don't. Hahaha. I don't want them to get robbed of pretty paper so I decided to use PPbNdesigns images and make special stationery for my pen pals. 

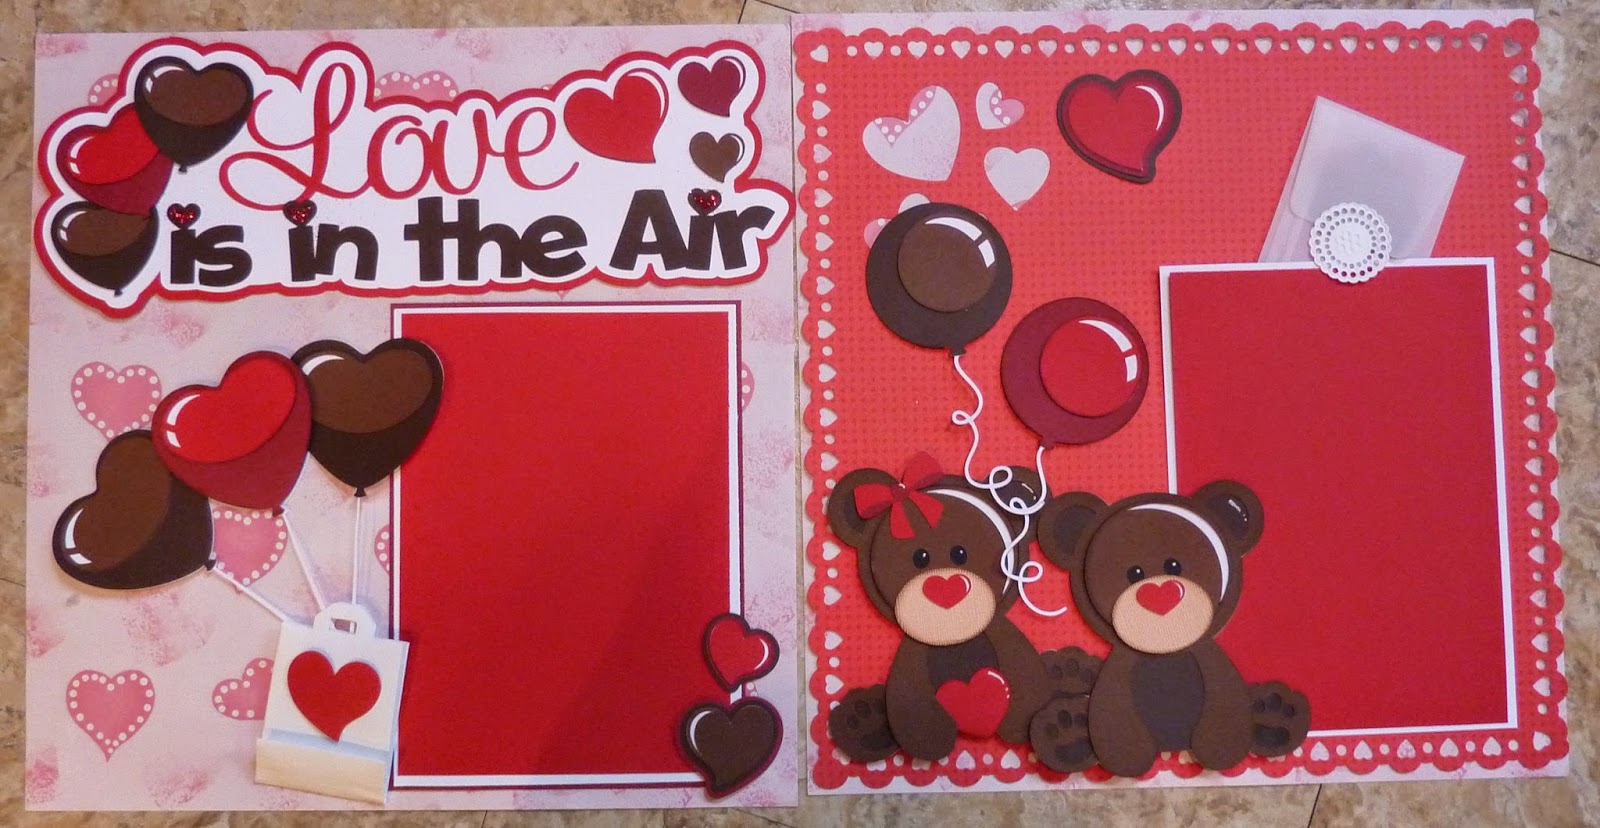
This is what it looks like...
 

Isn't it just so sweet?!?! Yeah I thought so too. Here is how you can make your own stationery quickly and keep it for future editing and adding in new Designs. 

1.) Go on over to PPbNdesigns and on the left hand side click on "borders and banners" Select the banner you would like to use in your project add it to your cart and download it right onto your desktop. (I normally keep a seperate area on my desktop for PPBN files) however for this I would suggest keeping it on your desktop initially. Easier to find
*Be sure you extract all the files by right clicking on the icon that has now downloaded onto your computer and select extract all. 

2.) open up a word document. 
3.) on the top select insert, picture, from file, desktop, "ppbn file" then select the JPEG of your desired image. 
4.) this being the most difficult part you will need to click on the image and using the box on the right hand bottom corner make the image the size of your preference. 

Optional: add some lines and another image to the bottom. 

5.) print out and voila you have some pretty paper. 

I reapplied the same steps to make an envelope. Super fun. 

I hope this helps some of you to create pretty paper. 
 
Have a happy summer friends.

Tuesday, April 21, 2015

Planner Stickers

Hey beautiful crafters. Raven here today and I have a fun project I'd love to share with you. I am ADDICTED to my planner. When I say that I'm not talking some fun thing like I am in love with this thing. It keeps me more organized then I have been in years (dates back to college years and the times I used a planner). My life and times will consist of planners for the rest of my existence I vow to you all now. AND if that isn't exciting enough there is a huge planner society of creatives that decorate their planners and add tons of yummies to them. Yeah I dare you to search #Planner in instagram. You're welcome!

So without further ado I made some fun planner stickers that I can use to keep me on track. These will help eliminate the need to hand write everything. I used just some label sheets I had laying around the house and added the png into a the template for that specific sheet. Here look...

 Seriously are you as excited as me? ECK!!! 

So the oldest kid has Orthodontist appointments about even 6 weeks which is a regular. The coffee mugs I thought would be cute to use as "meetings with friends". Date night is pretty obvious (older file). The scissors represent when the boys should be getting their haircuts. I cut the girlies hair and my own but I can't do a mean fade like the Barber shop can. I digress! The balloons will be used for birthday parties, Girl Scouts is pretty self explanatory, the camping tents (older file) are to plan out our fishing/camping weekends and finally the cameo represents when I need to work on a cutting file project. I SUPER love this!!!!

P.S. There is a Giveaway over on my blog HERE!

If you have any questions and you'd like to make one similar please don't hesitate to email me or comment on this post. 

Hugs and Creative Blessings,
Raven

Tuesday, April 7, 2015

Sweet Heavens

Hi beautiful crafters! I'm so glad to be back into the swing of things. Our family has gone through some crazy things this last month and I've found the best thing to keep me sane is my planner.
(More on the crazy month is on my blog.)

So today I'm sharing with you all some planner clips I made using the adorable new files called Donut filofax clip and Filofax planner Cupcake Clip. If you've seen my posts before you'll know that my Cameo doesn't cut the smallest details for some reason so these files have additional layers but I didn't cut them because my machine and me don't always get along. ;)

Without further ado...

I just adore them. I hope you all feel inspired to cut some paper clip cuties for your planner and be sure to tag #ppbnpaperclips if you do so we can like and comment on your projects!

Hugs and Creative Blessings,
Raven

Tuesday, March 10, 2015

Baby Girl!!!!

Hi beautiful crafters. I'm so excited to share a quick project that I made using the uber cute Baby Girl Phrase file.

Here is a fun card I made for my cousin who is having a baby shower this weekend.


Thank you all so much for stopping by and happy crafting!

Tuesday, February 17, 2015

Sip, Enjoy, Relax

Hey beautiful crafters! So excited to share with you all a little project using the super fun PPBNdesigns Kawaii Coffee


When I saw this cut I had to use it right away. I took off a few of the layers that I didn't need but I think it came out super cute. 

Hope you are all having a great week. 

Raven

Wednesday, February 4, 2015

Girl Scout Cookies


One of the 2-page SVG Kit Club. I don't have any Girl Scouts but this page was too cute not to do it. I found that the blond girl can become a boy if you leave off the back hair and trim the black or dark brown layer to remove pigtails. The cookies look good enough to eat.

Tuesday, February 3, 2015

Lego Fun

Love this file, I know I will use this one many times. Lego Fun I used the file pretty much as is except for color. I did add an extra black offset on the title to set it off from the page. I use scotch foam squares on the blocks so I could still get my pictures behind the blocks. Hope you try this one for all those Lego pictures you have.

Sunday, February 1, 2015

One of the Family

The base paper I used was from StudioCalico.com the Classic Calico collection, get it calico for cat. Well I do not have a cat but I did need a layout for this post so I choose one of the 2-page layout from the ppbndesigns members svg files. Love that I get 30 layouts in a month, yes not all of them work for my pictures but I scrap for all my family so they will all get uses. I changed the colors around on this one because my daughter wanted a orange kitty. Other than pop dots and some ribbon the rest was from the file. One of the Family-Cat

Tuesday, January 27, 2015

Felt Fun

Hey beautiful creative friends! I'm really excited to share a project with you today that I made for my girlies. I need to go back to the store and buy more felt because they used it all lol but here is a sneak peek on something I feel like I might be making a TON more of in the near future...

 I know the first two pictures are blurry but I really didn't want to tell her to stop playing so that I could get a good picture. ;) I knew you all would understand. 
 I used the files Dolphin & Killer Whale but I kinda wish I would have made...
a treasure chest
star fish
spongebob
a pineapple
cloud fish
a rock with a mermaid
Okay my less than stellar creative mind didn't think of those ideas they all came from that adorable little 8 year old playing with her new felt board. 
I hope you all enjoy our fun felt board. If you want to make your own keep reading for directions...

Purchase and download the Dolphin & Killer Whale sets (or any set you want really). Now what you when you import your svg files into your software is take out all of the smaller pieces. You won't need them. I kept only the main dolphin back "shadow" layer and the two pieces from the killer whale including the "shadow" layer as well as the upper killer whale cut. I used some really cheap scrapbook paper from one of those packs that you can buy at Michael's. It's really thin so this is a great type of paper to use for a template. Then I pinned the template down onto felt and cut around the outside. For the killer whale I just clipped a piece of the inside out then cut the rest. For the eyes I just used a black sharpie. I'm thinking "quiet book" so keep checking back to see what happens with that! ;) 

Happy Crafting Friends

Monday, January 26, 2015

Fun in the Sun


Ready for Summer with Fun in the Sun another one of the files for the 2 page svg kit club here over at ppbndesigns.com.

Friday, January 23, 2015

Wild About You

Brand new layout fromppbndesigns.com. Love the monkeys on this one. This is also one of the layouts from the new 2 page svg kit club.

Thursday, January 22, 2015

Summer Sweetness


I am enjoying cutting all the files in the 2 page svg kit club. It is cold here in Colorado right now but I can dream of watermelon and sunshine. Summer Sweetness.

Sunday, January 18, 2015

Do You Wanna Build a Snowman?


Such a cute file Do You Wanna Build a Snowman? It is one of the 2 page layout file for this month with the SVG Scrapbook Membeship. I used different colors and really like how it came out. These files can be cut on all the machines that cut svgs. I love how easy they are to put together and still have a great page.

Tuesday, January 13, 2015

Baby piggies

Hey beautiful crafters! I love piggies especially if they are baby sized! Don't you?
 
I'm so excited to share with you all a project I made using the uber cute baby pig file. I am currently enamored with quilts can you tell??? Isn't it funny how our likes reflect in our work? I just love that. I just love all of the new files Nikki came out with and I cant wait to see what you make with them! Have a great week!!!


Raven
 

Sunday, January 11, 2015

Quick Beary Special Valentine


 Just a quick print and cut valentine. I made a offset around the bear after I traced it in Design Studio. I then mirrored it up and moved it so that the ears toughed just a little and then welded both together. the phrase inside was traced, printed and cut. Only took a few minutes to finish. This could of also been done as a pieced project. File used was Beary Special Valentine.

Friday, January 9, 2015

Love is in the Air


Used the file pretty much as it was. I added 5x8 mats instead of the smaller one. The gift bag and the envelope in the right corner were in my stash. File is Love is in the Air. Hope you enjoy.

Monday, January 5, 2015

Valentine Vintage Polaroid revo lip balm holder


I left the bottom part of the camera not glued and added the rectangle piece to stamp my sentiment.
Hope everyone had a great Christmas season. I have been under the weather but I am feeling better now. I have seen a lot of these holders on FB so I decided to give one a try. Any file that you can make a circle hole will work. This is the Valentine Vintage Polaroid file that I just resized the middle hole and made the hole go all the way through all layers. The lip balm is from the Dollar Tree store.
 I got rid of some of the layers and I decided not to use the middle white layer in this picture.

 The hole I needed for the lip balm was 1.1. I chose the hole on the second layer to make this size. I felt that there was too many layers for the lip balm to go through so I made all the rest of the layers a larger hole 1.374. To get the hole in the same spot on each layer I copied the larger hole 4 times and placed the layers on top of each other where they belonged, added the circle and grouped the two pieces, added the next circle and moved the grouped layer out of the way. Repeated this until each had a hole.