Hey Everyone! Ken here with Ken's Kreations.
I am so excited to share with you this Halloween frame that I made using the outstanding Print then Cut feature on the Cricut Explore. This project would have taken me hours to cut, layer and shade. Now with the Cricut Explore and Print then Cut I had this done in less than an hour.

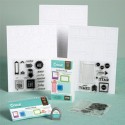
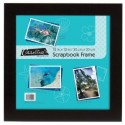
So for this project I started with a 12X12 shadow box frame. I found a piece of paper in my stash that would go great with the Halloween theme. I used multiple images to Print Then Cut for this project.

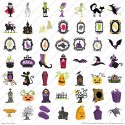
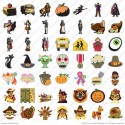
I used multiple images from www.ppbndesigns.com including the Scary House, Harvest Moon and Vampire. For the rest of the images I turned to my Cricut Subscription for the other images. For the graves I used the Trick Or Treat Cartridge. For the scary gate I used the Happy Hauntings. Now you can find the grass on multiple cartridges, however I liked the grass that was on the Cricut Close To My Heart Artbooking Cartridge. I design the entire thing in Design Space to get a feel on how the finished project would look. I set the canvas Design Space to a 12X12 frame so I could size all the images to the best sizing. I used my favorite white card stock for the Print Then Cut feature the Georgia Pacific 110lb Paper. I printed all the items out on my Epson Printer. I love this printer and recently just posted a YouTube review which you can see by clicking here. Once all items where printed I was able to start layering the items using shadow cuts and pop-dots. I made base cuts of all designs on some basic white card stock. I did this because I have these images at different layers and if you just stack a bunch of pop-dots the images tend to sag. Once all of the base cuts were cut I layered those in between the pop dots (think like an oreo....the base-pop-dots- the image)
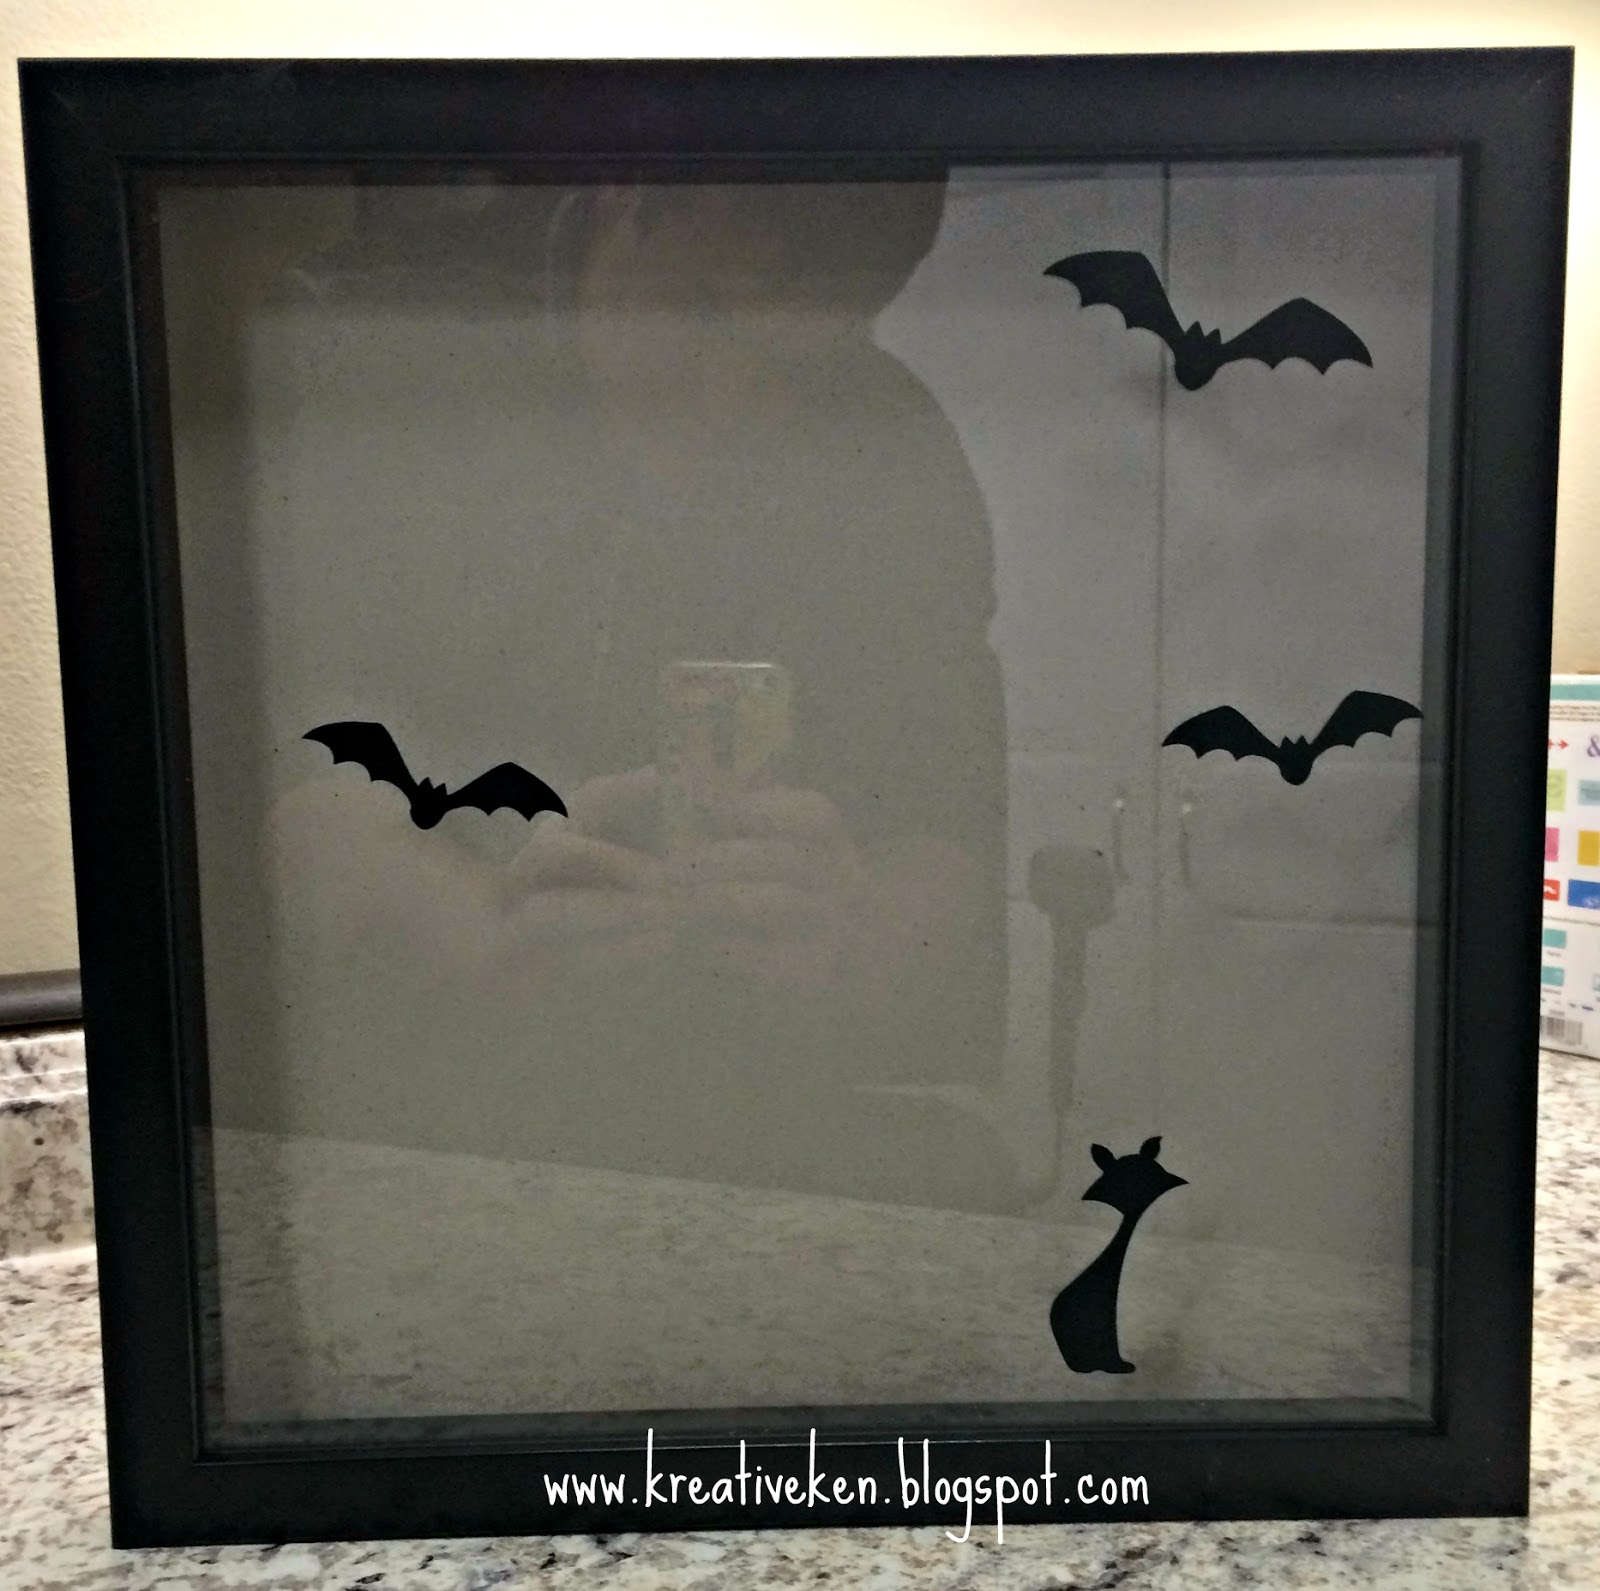
Once I was done with all the Print Then Cut images I turned to the images I need to cut out on vinyl so I could put them on the outside of the frame. These consisted of bats and cats. I found the cat on the Autumn Celebration Cartridge and for the bats I turned to the Cricut Close To My Heart Artbooking Cartridge again. I cut these out using my Cricut Explore and cricut midnight vinyl. DO NOT FORGET TO SET YOUR SMART DIAL TO VINYL. Once they are cut out you can affix them to the top of the glass where you see fit.
Thanks for taking a look at today's project. I adore all of you and love that you have come to my blog to check it out!! Happy Scary Crafting!!! Thanks for the continue support by always buying items at the bottom of this post in the shopping link. I adore your support of Ken's Kreations!!
ALSO DON'T FORGET ABOUT MY CONTEST DURING THE MONTH OF OCTOBER:

LOOK AT THIS MONTH'S SPECIALS AT MY CLOSE TO MY HEART STORE:
*OCTOBER STAMP OF THE MONTH SET ONLY $5.00 WITH $50.00 QUALIFYING ORDER*

**FREE CHEVRON RIBBON WITH QUALIFYING ORDER OF $50.00 OR MORE**

This post may contain affiliate links. If you purchase a product using the link I may receive a commission. I only participate in affiliate programs for products that I use or can recommend. Thanks for supporting Ken's Kreations


No comments:
Post a Comment
We love your comments!