Thursday, October 23, 2014

VAMPIRE FRAME

Hey Everyone! Ken here with Ken's Kreations.

I am so excited to share with you this Halloween frame that I made using the outstanding Print then Cut feature on the Cricut Explore. This project would have taken me hours to cut, layer and shade. Now with the Cricut Explore and Print then Cut I had this done in less than an hour. 


So for this project I started with a 12X12 shadow box frame. I found a piece of paper in my stash that would go great with the Halloween theme. I used multiple images to Print Then Cut for this project. 

I used multiple images from www.ppbndesigns.com including the Scary House, Harvest Moon and Vampire. For the rest of the images I turned to my Cricut Subscription for the other images. For the graves I used the Trick Or Treat Cartridge. For the scary gate I used the Happy Hauntings. Now you can find the grass on multiple cartridges, however I liked the grass that was on the Cricut Close To My Heart Artbooking Cartridge. I design the entire thing in Design Space to get a feel on how the finished project would look. I set the canvas Design Space to a 12X12 frame so I could size all the images to the best sizing. I used my favorite white card stock for the Print Then Cut feature the Georgia Pacific 110lb Paper. I printed all the items out on my Epson Printer. I love this printer and recently just posted a YouTube review which you can see by clicking here. Once all items where printed I was able to start layering the items using shadow cuts and pop-dots. I made base cuts of all designs on some basic white card stock. I did this because I have these images at different layers and if you just stack a bunch of pop-dots the images tend to sag. Once all of the base cuts were cut I layered those in between the pop dots (think like an oreo....the base-pop-dots- the image)
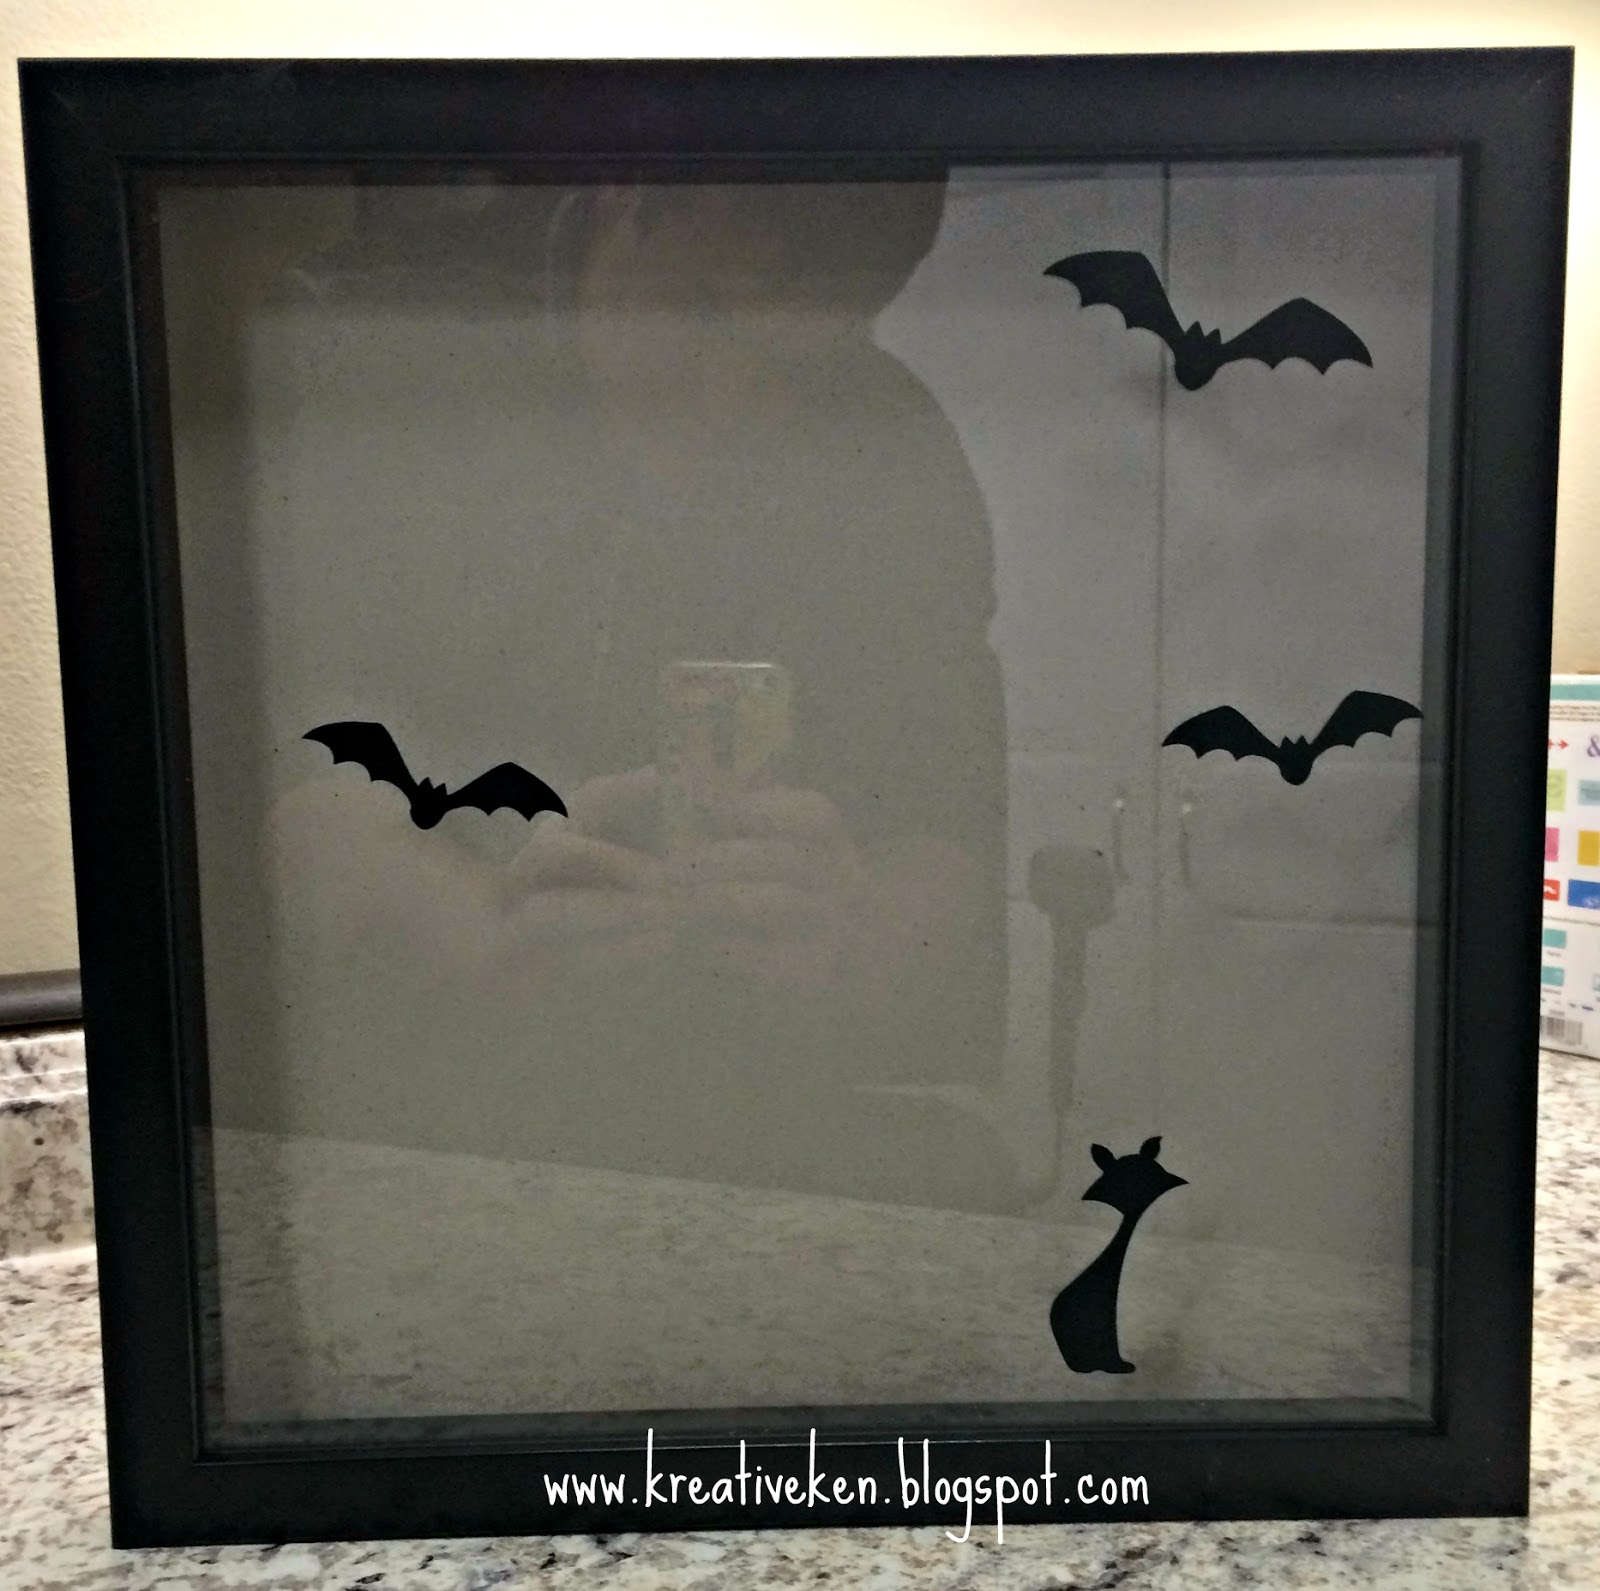

Once I was done with all the Print Then Cut images I turned to the images I need to cut out on vinyl so I could put them on the outside of the frame. These consisted of bats and cats. I found the cat on the Autumn Celebration Cartridge and for the bats I turned to the Cricut Close To My Heart Artbooking Cartridge again. I cut these out using my Cricut Explore and cricut midnight vinyl. DO NOT FORGET TO SET YOUR SMART DIAL TO VINYL. Once they are cut out you can affix them to the top of the glass where you see fit.

Thanks for taking a look at today's project. I adore all of you and love that you have come to my blog to check it out!! Happy Scary Crafting!!! Thanks for the continue support by always buying items at the bottom of this post in the shopping link. I adore your support of Ken's Kreations!!

ALSO DON'T FORGET ABOUT MY CONTEST DURING THE MONTH OF OCTOBER:


LOOK AT THIS MONTH'S SPECIALS AT MY CLOSE TO MY HEART STORE:
*OCTOBER STAMP OF THE MONTH SET ONLY $5.00 WITH $50.00 QUALIFYING ORDER*
**FREE CHEVRON RIBBON WITH QUALIFYING ORDER OF $50.00 OR MORE**

This post may contain affiliate links. If you purchase a product using the link I may receive a commission. I only participate in affiliate programs for products that I use or can recommend. Thanks for supporting Ken's Kreations


Monday, October 20, 2014

Finger Puppets with print and cut


 I loved the card by Samantha Walker from the Silhouette Store but wanted it to be a fun card for my granddaughter so I knew just what to add, print then cut figures from PPbN Designs.com. Instead of piecing such small figures I used the .png and print then cut.


Design ID #53879                         
1/13/2014

Sleeping Princess and the retired set Once Upon A Dream were the file I used.  Next I used a cone shape to turn these cuts into finger puppets.

I print then cut the Happy Birthday title to go on the inside and cut the Princess. I hope my grand daughter will love this card.


Print Then Cut with the DE software for the Silhouette Cameo. I have updated to 3.0.343

1. Choose design, I choose the png but you can also color and put back together the svg file. For this I am going to talk about a png file.
2. add the Registration marks. 4th button at top from the right. Looks like sheet of paper with registration marks. Under style button choose your machine.
3. Now to get cut lines go to 6 button from right. Open trace window. The one with a butterfly.
Select trace area and make a box around image. Now time to play with the different settings. I turned off High Pass and moved the Threshold to 100%. The balloons on my image didn't completely yellow out but I am just tracing the outside edge so it worked for me. Trace outer edge.
4. If you are wanting a white border just use the offset and remember to take away the other cut line.
5. Choose print setting for you printer and print. Button looks like printer.
6. Put paper on mat and I add a extra light in front of my machine. Cut.
 Add the Registration marks and make sure your image is inside the marks.
This is with High pass on and I might have gotten away with this since I only need the outline but I choose to unclick that and use the Threshold to 100%.

 Just showing the cut line, move image back into place to print and then cut or if you like the white border use the offset but remember to remove the first cut line either by moving it out of the way or changing it to no cut.

Friday, October 17, 2014

Checkbook cover with PPbN cut files.


Check book cover using the Scooby Doo patterns from ppbndesigns.com. I cut the files for Scooby and Shaggy at 2 1/2 inches. They cut amazingly even at that small size. I just sized the Mystery Machine to fit in the space I had let.


 This is after I placed into a clear Vinyl Checkbook cover  by A. i. P.www.Vippies.com just look for clear checkbook covers, I also found them on the Peachy Keen Stamps site.


My dimensions for the back ground were 6 1/8 x 6 5/8. I scored the middle of the 6 5/8 side and 1/4 on each side of that. The accent paper was cut at 3 x 6.

For my checkbook I wanted to use money so this is how I did that.

 This is a press my hubby made but two paint sticks and a couple clamps work just as well.
 Stack of new dollars plus a piece of cardboard the same size. I also place a sheet of paper on either side as protection.
 Put all this in vise setup with the straight edge just sticking out. Using Padding Compound paint the edge well and allow to dry. Padding Compound can be found several places Amazon has it. You just need a small amount so buy the smallest container you can. You can use this to make notebooks/ paper pad, books and anything you want stuck together along an edge. The dollars or paper in a pad will just tear off along the edge painted. Sort of like a rubber cement.

Tuesday, October 14, 2014

Getting Etchy

Hey beautiful crafters!

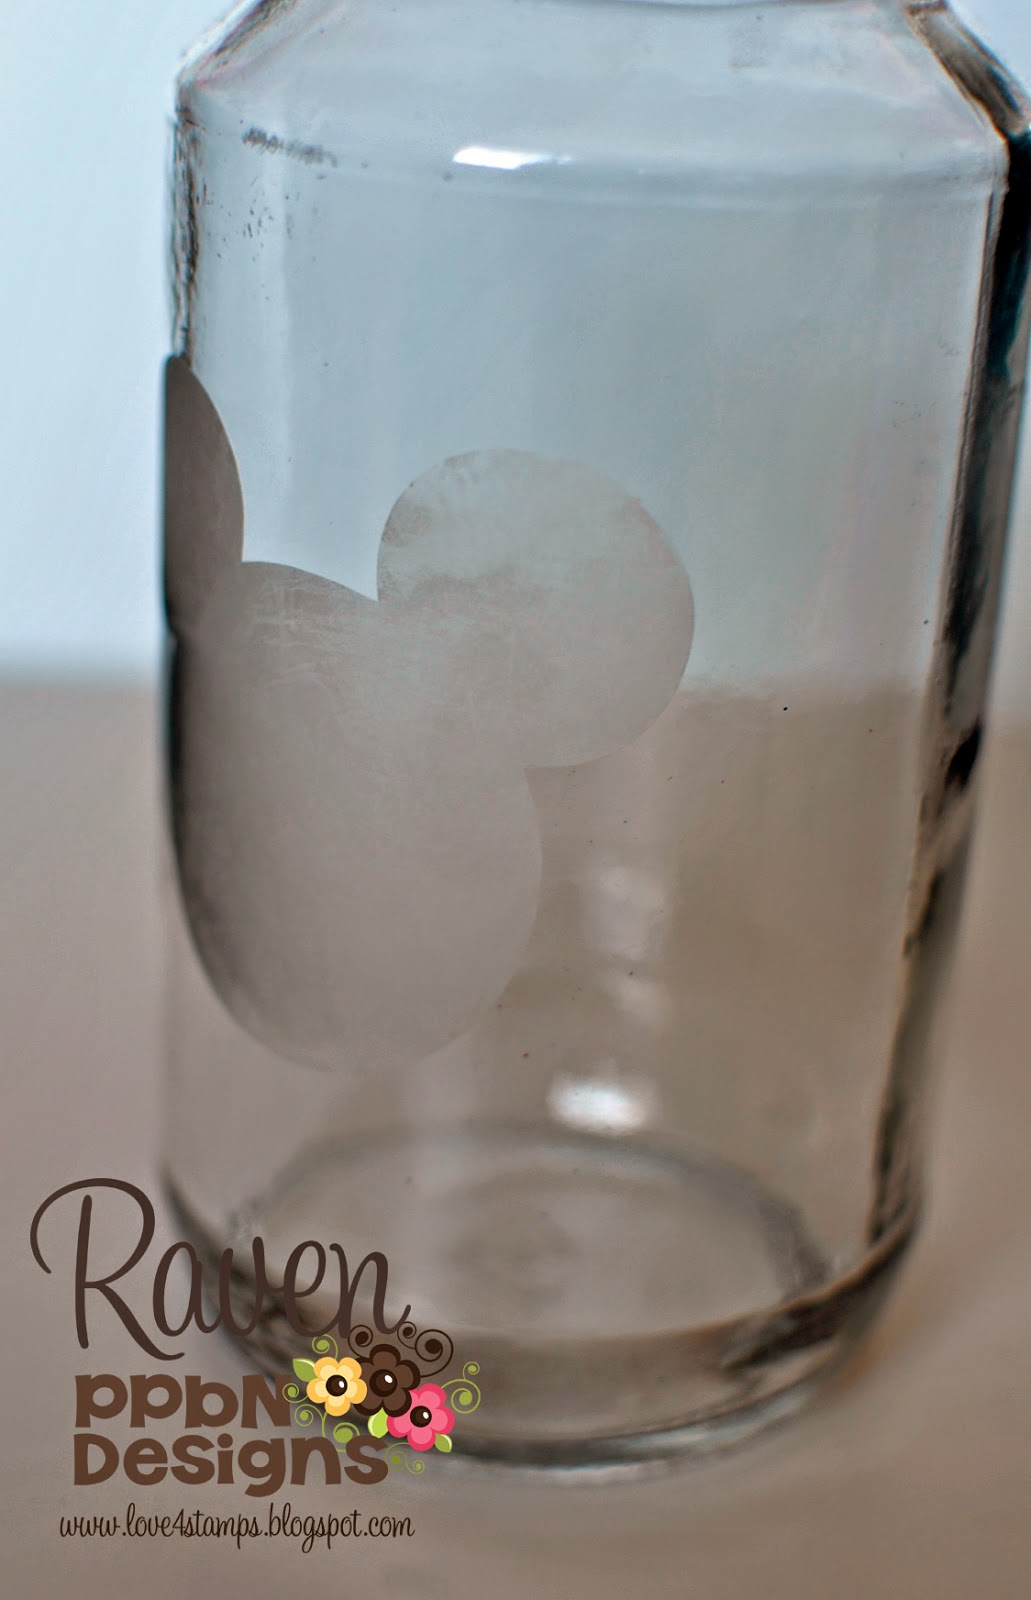
I've been wanting to do a glass etch project for a while now. So I pulled out the ol' Armor etch and got to work on an old Ragu jar. I can't get rid of glass; I'm a hoarder like that! 

So with the lid I just used some left over spray paint from my daughters room. Then I mod podged the entire thing and sprinkled glitter on the lid. 

Then using the Mouse Ears file and some vinyl I cut out the head. Adhered the negative and put Armor Etch all over using a pretty thick coat. I waited 5 minutes and then cleaned the etch off and voila! 


I super love this project. It would make an adorable gift if you do an orange lid and use the 

Mouse Ghost!

Wouldn't that be adorable!

That's all she wrote yall hope you have a blessed day!!!

Monday, October 13, 2014

Halloween layout


Ok, I love pink, purple and lime green so that is what I used on this page. Decided Halloween didn't need to be orange and black. The file I used is from PPbN Designs Halloween scrapbook page kit. This makes it so easy to complete a page in a short time. Hope you have a wonderful week and enjoyed this weeks project. Today is my 35th wedding anniversary, I am lucky to be married to my best friend. Love you hubby! Going to spend the day with him.

Tuesday, October 7, 2014

Pilgrim Boy

Hey beautiful crafters! I am so glad you stopped by today. I have a really fun card I made using the Pilgrim Boy SVG file from ppbndesigns.

I love this little guy I actually cut out three of them at the same time because I was going to use them to decorate our table for Thanksgiving. I may still end up doing that...I'll keep you posted. In the meantime here is the fun card I made. 

Thank you again for stopping by hope you have a beautiful Tuesday!
Hugs & Creative Blessings,
Raven

Halloween Card


Hello everyone I am posting on Tuesday this week because I am a guest designer Die Cuttin' Divas this week. My challenge this week was to use this sketch to make a card or layout.
I decided to make a Halloween card.

The file I used was Scary-Haunted House and for the title I used Halloween title both from ppbndesigns.com. For fun I cut the bottom layer from glow in the dark paper. Hope you enjoy this card as much as I enjoyed making it.